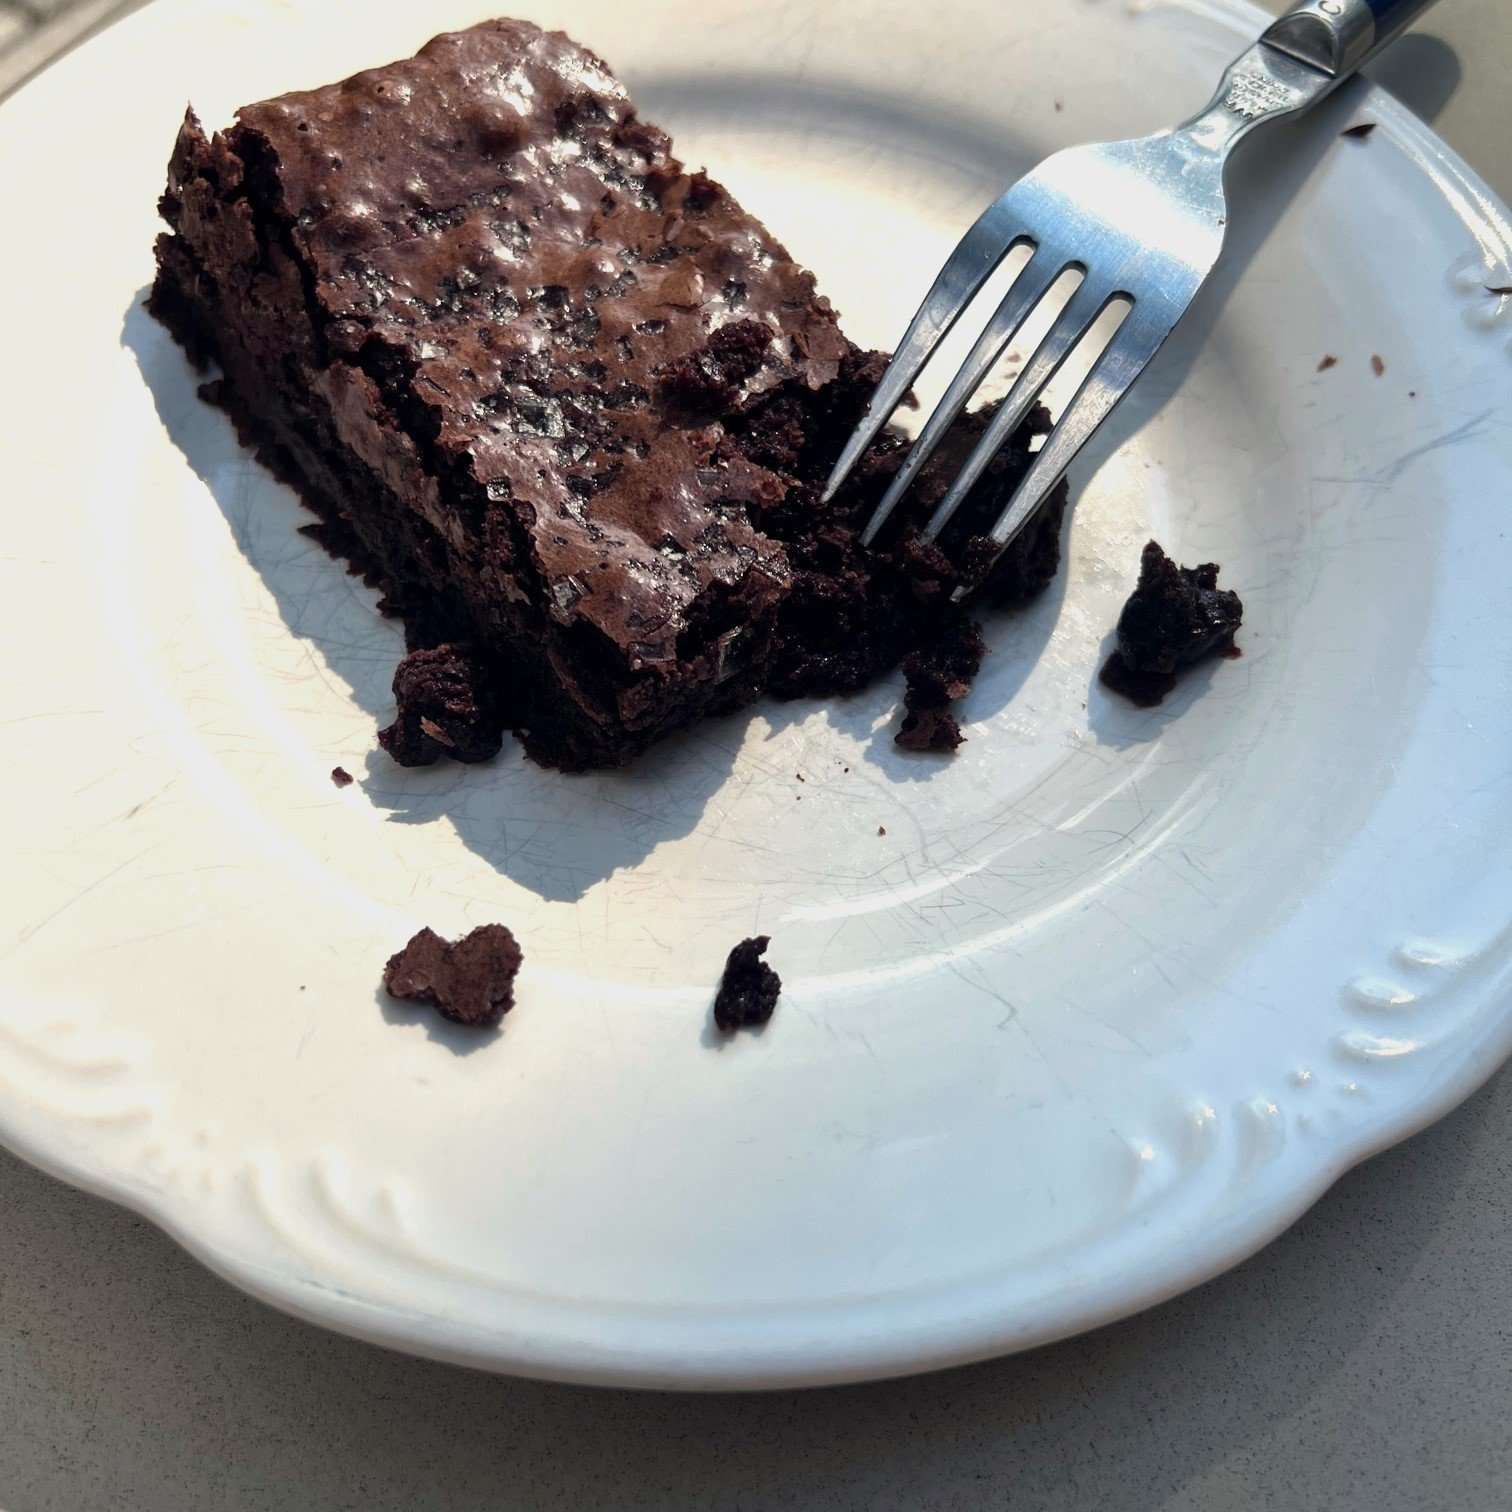
Any Kind of Flour Brownies
Recipe by Jazmyne Ortiz, professional baker, cheesemaker, and CGA Board Member
Inspired by the Best Fudgy Cocoa Brownies by Karina of cafedelites.com
If you are newly experimenting with different Mid-Atlantic produced flours, I’d highly recommend this recipe as a great place to start. Brownies are one of my favorite things to make, and this recipe is so simple and delicious you’ll never buy boxed brownie mix again!
The flour you use in this recipe can be more than just a vehicle for cocoa powder and other sweet mix-ins. Choosing something other than All-Purpose can contribute its own more interesting flavor profile and can level up your brownie as a whole. Rye and buckwheat pair very well with chocolate. I’m partial to buckwheat which is a great addition not only because of the magical flavor pairing, but because buckwheat is gluten free. When I serve these, most people can’t believe that they are both gluten free AND whole grain.
Ingredients:
½ cup unsalted butter, melted and HOT
1 tablespoon olive oil
1 cup superfine sugar
2 tablespoons brown sugar
2 eggs at room temperature
1 ½ teaspoons vanilla extract
½ cup flour of your choosing (buckwheat, rye, spelt, oat, All-Purpose, etc.)
½ cup unsweetened cocoa powder
¼ heaping teaspoon salt
** Optional - ½ cup of add-ins of your choosing nuts, chocolate chips, dried fruit, etc.
Instructions
Preheat your oven to 350* F.
Lightly grease an 8 inch square baking pan and line with parchment. Set aside.
Melt the butter in a small saucepan or skillet, making sure to not let it burn.
In a medium sized bowl combine the olive oil, both sugars, and hot butter on top. Whisk well until all ingredients are combined and when pulled, the mixture is ribbony and not clumpy.
Whisk in the eggs one at a time, then add in the vanilla extract. The mixture should be well combined, lighter in color and fluffy. It is important to whisk the sugar-butter-egg mixture well to end up with that classic, crackly brownie top.
In a separate bowl, sift your flour and cocoa powder. When using whole grain or locally milled flour, you may end up with a bit of bran in your sifter. I prefer to add the bran back in, but it can be omitted if you'd like.
Add the salt and whisk your dry ingredients well.
With a rubber spatula, gently fold the dry ingredients into the wet ingredients. Fold the dry ingredients in until they are just combined. Do not overmix and only use the rubber spatula; do not whisk together.
If you are adding any nuts, fruits, or chocolate chips this would be the time to gently fold them in. You can save some of your add-ins to sprinkle on top of the brownies if you wish as well.
Scoop the batter into your prepared baking dish. The batter will be somewhat stiff and not flow to all the corners. With either an angled spatula or butter knife, gently coax the batter into an even layer that reaches all four corners. Scrape any excess batter on your butter knife or spatula off, and run your tool of choice under hot running water. Now go back and smooth out any bumps or lumps.
Sprinkle any additional mix-ins on top of the brownies now, if you wish. More chocolate chips, large flecks of Maldon salt or smoked salt, or shredded coconut are some of my favorites.
Place the brownies on the middle rack in the oven for 20-25 minutes. When the brownies are just set and no longer jiggle, pull them out to cool. If testing with a toothpick, it should come out a little muddied, not completely clean. Allow brownies to cool to room temperature before cutting.
These brownies are best sliced and eaten the day after baking. Keep them stored in an airtight container.
Pro Tip: I like to place smaller cut brownies in cupcake liners to keep from sticking together.